How to remove gel nails safely and effectively at home
Gel nails have become an integral part of modern manicures. They give our hands a well-groomed look and last significantly longer than conventional nail polish. But at some point, the time comes when gel nails need to be removed, either because they have grown out or because you simply feel like a change. Going to a nail salon is one option, but it also involves cost and time. With the right instructions and the right tools, you can just as easily remove your gel nail polish at home. Here’s how.
07 August 2025
Table of contents
Preparation What you need to remove gel nails yourself
Before you start removing your gel nails, it is important to have all the necessary materials ready. With the right preparation, the process will be much easier and gentler on your natural nails.
The following items are needed to remove gel nails:
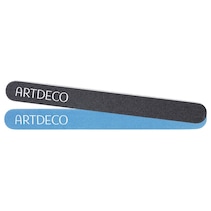
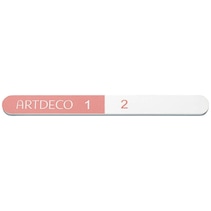
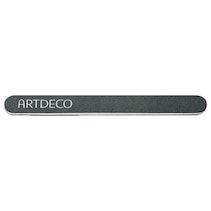
- Coarse nail file (100–180 grit)
- Acetone-based nail polish remover with at least 70% acetone
- Cotton balls or cosmetic pads
- Aluminium foil cut into small squares or cling film
- Nail oil or Vaseline to protect the cuticles
- Rosewood sticks
- Nail clippers or scissors for extra-long nails
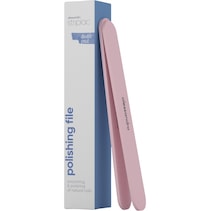
- Polishing file for finishing
- Towel or mat to protect your work surface
To protect your cuticles from the drying effects of acetone, apply a generous amount of nail oil or Vaseline around the nail before removal. If your gel nails are very long, first trim them carefully with nail clippers. However, be careful not to cut too close to the natural nail to avoid cracks or splinters.
Method 1: Remove gel nails with acetone and aluminium foil
The acetone method is the classic and most effective way to remove gel nails yourself. Acetone dissolves the polymers in the gel, allowing for gentle removal. To do this, proceed as follows:
Step 1: Roughen the top layer of gel
First, remove the shiny sealing layer with a coarse nail file. Carefully file the surface until the shine disappears. This step is crucial so that the acetone can penetrate the gel later. Be careful not to file too deep. You should only break the seal, not remove the entire structure.
Step 2: Soak cotton balls with acetone
Soak a cotton ball with acetone-based nail polish remover for each nail. The cotton ball should be well moistened but not dripping wet. The higher the acetone content, the more effectively the gel will dissolve.
Step 3: Wrap your fingers
Place the soaked cotton ball on the gel nail and wrap both tightly with a piece of aluminium foil. The foil holds the cotton ball in place and prevents the acetone from evaporating too quickly. Alternatively, you can use special clips or cling film.
Step 4: Wait for it to take effect
Leave it on for 10–15 minutes. For particularly thick or multi-layered gel nails, the application time can be up to 20 minutes. You can shorten the waiting time by holding your wrapped fingers briefly under warm water or wrapping them in a towel. Heat can speed up the process.
Step 5: Remove the gel
Remove the aluminium foil from one finger and check whether the gel has dissolved. The gel should now be soft and mushy. Use a rosewood stick to carefully scrape off the softened gel. If the gel is still hard, wrap the finger again and wait another 5 minutes. Never apply pressure or scratch your natural nail!
Step 6: Smooth the nail
Once you have removed all traces of gel, smooth the nail surface with a fine polishing file. This will remove any unevenness and give your natural nail a beautiful shine.
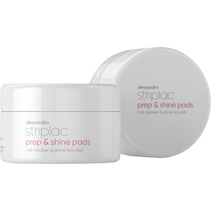
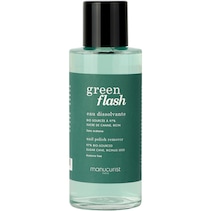
Nail polish remover
Nail polish remover


Method 2: Remove gel nails yourself by filing them down
If you don’t want to use acetone or don’t have any to hand, you can also remove your gel nails by carefully filing them down. This method requires a little more patience and dexterity.
Step 1: Remove the top layer
Start with a coarse nail file (100–180 grit) and carefully remove the top layer of gel. File in one direction and avoid back and forth movements so as not to damage your natural nail. Work evenly across the entire nail surface.
Step 2: Continue with a finer file
Switch to a finer file once you have removed the top layer. Work gradually and remove the gel layer by layer. Take your time and do not apply too much pressure to avoid generating heat.
Step 3: Take regular breaks
Filing generates heat, which can be uncomfortable and, in the worst case, damage the natural nail. Therefore, take a short break every few minutes to allow the nail to cool down and regularly remove the filing dust with a brush or a dry cloth.
Step 4: Leave a thin layer
Stop filing as soon as only a thin layer of gel remains. This thin layer protects your natural nail from overly aggressive filing. You can tell when this is the case because the nail becomes thinner and slightly translucent.
Step 5: Carefully remove the last layer of gel
You can gently remove the last thin layer of gel with a very fine polishing file. Work very carefully and check your progress regularly. Once the surface looks evenly matt, the gel has been completely removed.
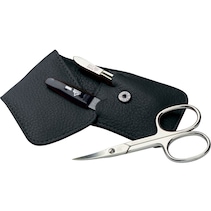
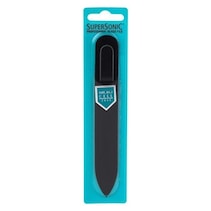
Nail files
Nail files

Alternative method: Let your gel nails grow out
The gentlest, but also most time-consuming method of removing gel nails yourself is to let them grow out. This means you don’t need to use any chemicals or mechanical methods and can let nature do the work.
This method is particularly suitable for people with sensitive or already damaged nails. The natural nail slowly grows out from under the gel without being subjected to additional stress. Depending on your individual growth rate (nails grow an average of about 3–4 mm per month), it can take three months or longer for the gel nail to grow out completely.
During the transition period, you can conceal the base with conventional nail polish. It is important to trim your nails regularly to avoid leverage effects and associated detachment or breakage. Carefully file the sides of your gel nails every two weeks to minimise unevenness and make the transition from gel to natural nail more harmonious.
How to remove fake nails: Aftercare and care for your nails
After removing fake nails, your natural nails are often thin, brittle and sensitive. Intensive nail care is therefore important to strengthen them again and make them shine. To do this, you should keep the following things in mind:
- Immediate moisturising: Immediately after removing the gel nails yourself, you should apply a high-quality nail oil. Oils containing jojoba, almond or vitamin E penetrate deep into the nail plate and provide it with important nutrients. Gently massage the oil into your nails and cuticles and repeat the application several times a day.
- Use a nail hardener: A nail hardener containing keratin or calcium can help your nails regain their natural strength more quickly. Apply the hardener according to the instructions on the packaging, but do not overdo it. Too much hardener can make your nails brittle.
- Take a break from nail polish: After removing the gel, give your nails a break for at least a week before going back to regular nail polish. If you do want to apply nail polish, choose an acetone-free remover to remove it.
- Regular hand care: Use a rich hand cream and massage it into your hands and cuticles several times a day. Apply a thick layer of hand cream at night and put on cotton gloves – this intensive care works wonders for stressed nails and hands.
- Protection in everyday life: Always wear gloves when doing housework and when in contact with cleaning products to protect your nails from aggressive chemicals. Avoid hot water and frequent hand washing with harsh soaps, as this further dehydrates the nails.
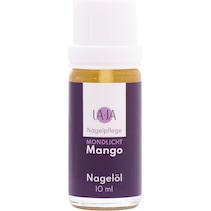
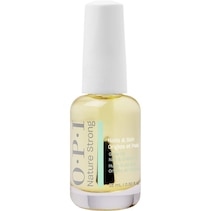
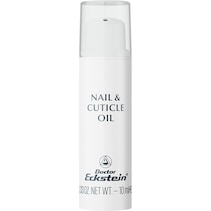
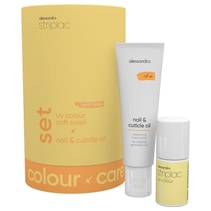
Nail oil
Nail oil
FAQ: Removing gel nails
Takeaway
Removing gel nails at home is entirely feasible with the right preparation and technique. The acetone method offers the best compromise between efficiency and nail protection. For particularly sensitive nails, filing or letting them grow out can be a good alternative. Consistent aftercare with high-quality care products is crucial for healthy nails after gel removal. Give your nails time to recover and be patient with yourself, especially if you are removing gel nails yourself for the first time. If you are unsure or encounter problems during removal, do not hesitate to seek professional help at a nail salon. Your natural nails will thank you for having the gel removed gently and professionally.